Living in an apartment or condo often means sharing outdoor space, even if it’s just visually. If you’re craving a bit more seclusion on your balcony, a DIY balcony privacy screen might be the perfect weekend project. It’s easier than you think to create a cozy little outdoor haven.
Key Takeaways
- Adding privacy can transform your balcony into a cozy, personal retreat.
- Planning is key: measure your space, check rules, and pick materials that fit your style, budget, and climate.
- There are many easy DIY options, from fabric and plants to bamboo and wood, suitable for renters and homeowners alike.
- Secure installation and simple maintenance will keep your screen looking great and functioning well.

I absolutely adore having a balcony, even a tiny one. It’s like a little escape hatch from indoor life.
But let’s be real, sometimes those neighboring balconies feel a bit too close for comfort.
You just want to sip your morning coffee in peace, you know? Finding ways to add privacy without breaking the bank or violating rental agreements can feel tricky.
I remember trying to strategically place tall, scraggly plants on my first apartment balcony, it wasn’t exactly stylish or effective! That’s why exploring practical, budget-friendly diy balcony privacy screen ideas is so appealing.
It’s about reclaiming that space and making it truly yours. Did you know that having access to private outdoor space, even small ones, can significantly boost well-being? Let’s make yours feel amazing.
Why Add Privacy to Your Balcony?
Creating a little separation does wonders for a small outdoor space.
Think about it: privacy instantly makes your balcony feel cozier. It’s like turning it into a mini outdoor room, secluded from the world.
No more feeling like you’re on display for the neighbors across the way or people walking down the street. A screen creates a visual barrier.
Beyond just blocking views, a privacy screen adds a real decorative touch. It can hide less-than-lovely railings or walls.
Depending on the material, it might even offer a bit of shelter from annoying wind gusts or the harshest afternoon sun.
Ultimately, it helps your small balcony feel more intentional, more like an extension of your home. A private little nook just for you.
Planning Your DIY Balcony Screen Project
Before you jump into building, a little planning goes a long way! Trust me, measuring twice saves headaches later.
First, grab that tape measure. Get the exact height and width of the area you want to cover. Note where railings or posts are located.
Next, do a quick check for any rules.
If you rent or live in an HOA, see if there are restrictions on balcony modifications. Better safe than sorry!
Think about your weather. Is your balcony super windy? Does it get blasted by rain or intense sun? Choose materials that can handle your local conditions.
Set a realistic budget. How much do you want to spend on materials and any tools you might need? DIY is usually cheaper, but costs can add up.
What kind of look are you going for? Natural and earthy? Modern and sleek? Bright and colorful? Let your style guide your material choices.
Finally, figure out how you’ll attach the screen. Renter-friendly options like heavy-duty zip ties, tension rods, or freestanding designs are great. If you own, you might have more options like screws or brackets.
DIY Balcony Privacy Screen Solutions
1. Weave a Weather-Resistant Fabric Screen
This is a fantastic option if you want color or pattern!
What you’ll need: Durable outdoor fabric (like Sunbrella, outdoor canvas, or shade cloth), a grommet kit, heavy-duty zip ties or strong outdoor rope.
The process:
- Measure the section of railing you want to cover. Add a few inches to the width and height for hems if you like, though outdoor fabrics often resist fraying.
- Cut your fabric panel to size.
- Use the grommet kit (follow its instructions – it’s usually pretty simple!) to install grommets evenly along the top and bottom edges, and maybe the sides too, especially if it’s windy. Place them every 12-18 inches or so.
- Hold the fabric panel up to your railing.
- Thread zip ties or rope through the grommets and securely attach the panel to the railing top and bottom bars, and side posts if possible. Pull it taut for a neat look.
Pros: Super customizable with endless fabric choices, relatively inexpensive, lightweight.
Cons: Can flap noisily in strong winds if not secured really well at multiple points. Fabric might fade over several seasons depending on sun exposure.
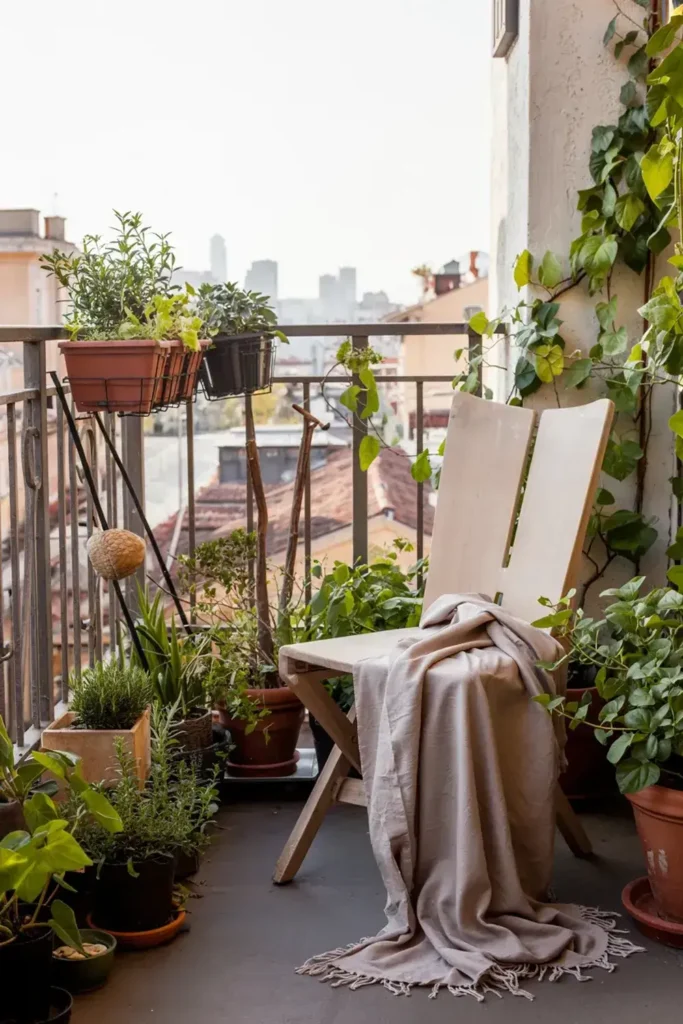
2. Create a Green Wall with Plants
Bring nature right onto your balcony for privacy!
- How to do it: Use plants as a living screen. Tall, narrow pots filled with bamboo, ornamental grasses, or even slim evergreen shrubs work well. You can also use railing planters packed tightly together.
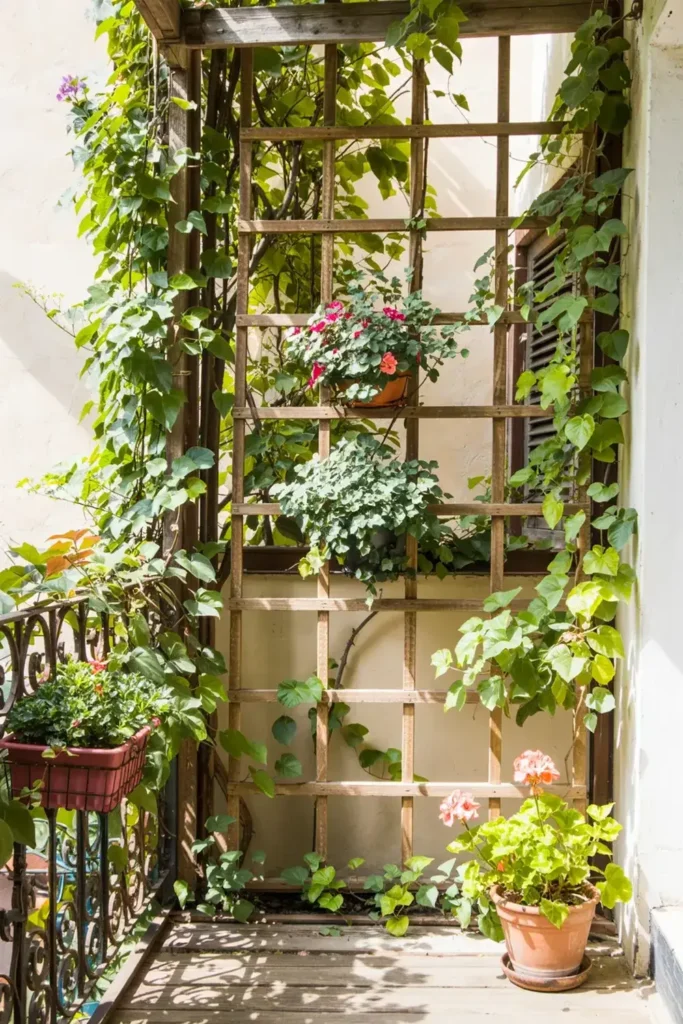
- Climbers: Another option is using climbing plants like ivy, jasmine, or clematis on a trellis leaned against or attached (if allowed) to the railing.
- Planter ideas: Look for tall, rectangular planters to maximize coverage along the railing base. Railing-mounted planters save floor space. Hanging baskets can add privacy higher up.
- Low-maintenance option: Don’t have a green thumb? No problem! Faux ivy panels or artificial hedge panels give you the green look without any watering needed. Just attach them like fabric or bamboo screens.
- Pros: Looks beautiful and natural, improves air quality (with real plants), adds life to the space.
- Cons: Real plants need regular watering and care. Pots can take up valuable floor space on tiny balconies. Faux plants can sometimes look less realistic up close.
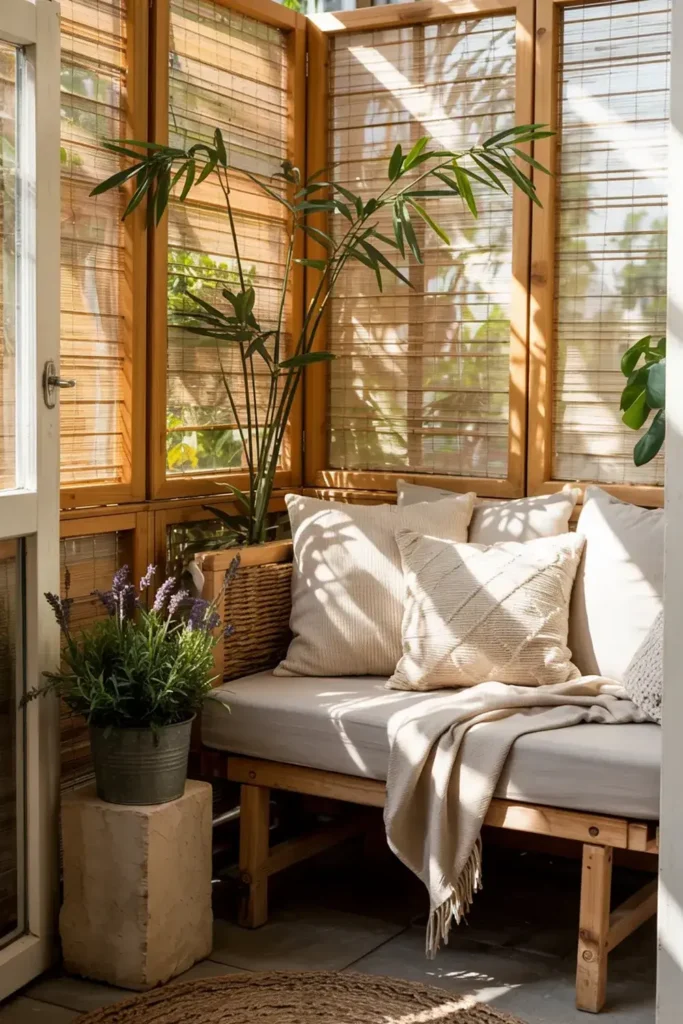
3. Install Natural Bamboo or Reed Fencing
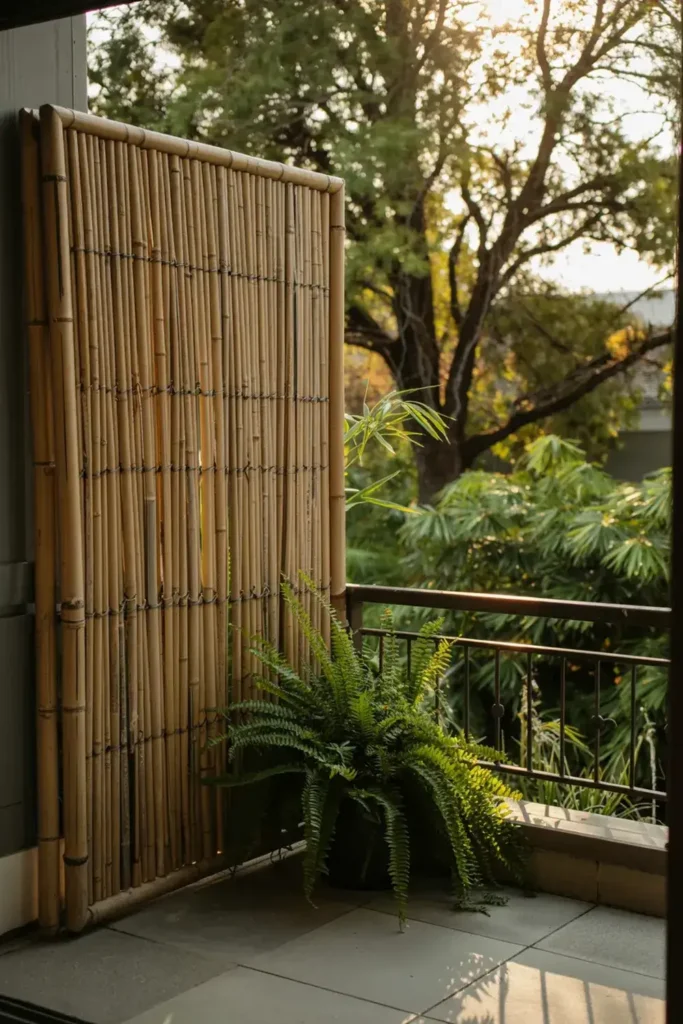
This is one of my favorite looks for a relaxed, natural vibe.
What you’ll need: A roll of bamboo or reed fencing (find these at garden centers or home improvement stores), heavy-duty UV-resistant zip ties or galvanized wire.
The process:
- Measure the length of railing you need to cover. These rolls usually come in standard heights (like 3-6 feet) and lengths.
- Carefully unroll the fencing along the inside of your balcony railing. Having a helper can make this easier!
- Starting at one end, use zip ties or wire to attach the top of the fencing securely to the top railing bar. Place ties every 6-12 inches.
- Repeat along the bottom railing bar, pulling the fencing taut as you go.
- Add ties to any vertical posts for extra stability.
- If the roll is too long, you can often cut bamboo with a fine-toothed saw or strong shears, and reed fencing usually cuts easily with heavy-duty scissors or wire cutters.
Pros: Creates excellent privacy coverage, offers a lovely natural texture, relatively easy and quick to install.
Cons: Natural materials will weather over time and might become brittle after a few years, potentially needing replacement. Doesn’t completely block wind.
4. Build a Simple Wood Lattice Panel

Lattice offers a classic look and allows for airflow.
- What you’ll need: Pre-made wood or vinyl lattice panels (found at home improvement stores), measuring tape, possibly a saw, and fasteners (wood screws if attaching to wood posts, heavy-duty zip ties, or mounting brackets).
- Installation Options:
- Direct Attachment: If your railing has sturdy wooden posts, you might be able to screw the lattice panel directly onto them.
- Zip Ties/Brackets: Use strong zip ties or specialized railing brackets to attach the panels securely to metal or vinyl railings.
- Freestanding Frame: For a renter-friendly or more robust option, build a simple frame from 2x4s to hold the lattice, then place the frame against the railing (you might still want to secure the frame base so it doesn’t tip).
- Finishing: Consider painting or staining wood lattice to protect it from the weather and match your balcony style. Vinyl requires less maintenance.
- Bonus: Lattice is great for hanging small planters, string lights, or outdoor decor!
- Pros: Sturdy and durable (especially vinyl), provides good privacy while allowing light and air through, classic appearance.
- Cons: Can be heavier than fabric or bamboo, wood versions require some maintenance (sealing/painting), might require more tools or DIY skills, especially if building a frame.
5. Upcycle Pallets for Rustic Charm
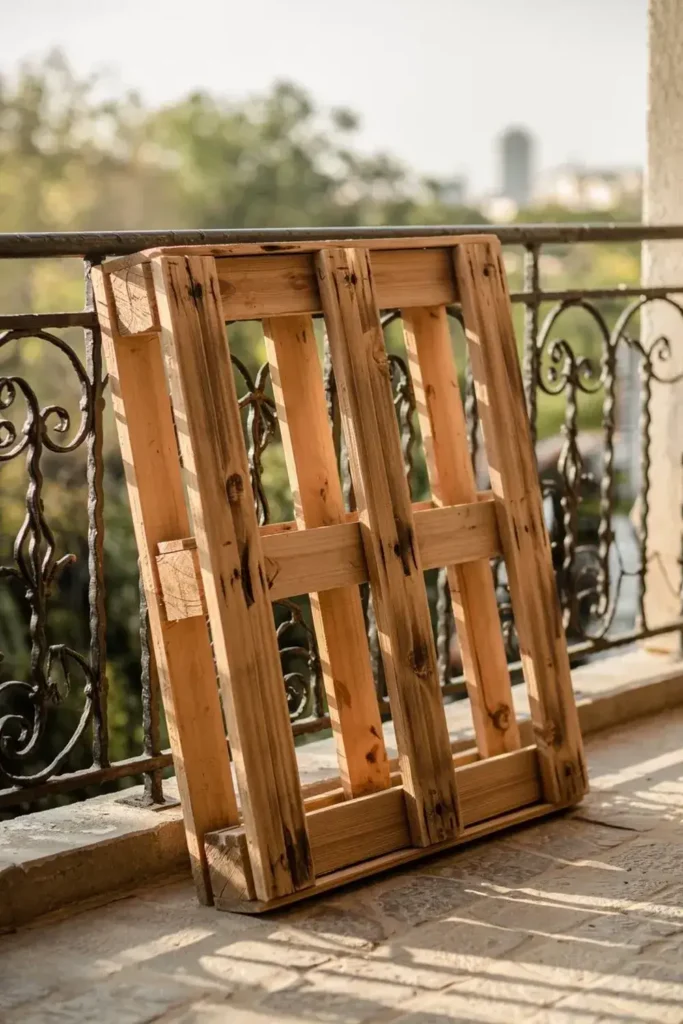
If you love a rustic or farmhouse look, pallets are incredibly budget-friendly.
- Finding Pallets: Look for pallets marked “HT” (Heat Treated). Avoid any marked “MB” (Methyl Bromide) as those are chemically treated and not ideal for home use. Ask local businesses or check online marketplaces – sometimes they’re free!
- What you’ll need: Pallet(s), sandpaper (medium and fine grit), optional paint or exterior stain/sealant, heavy-duty zip ties, screws, or metal brackets.
- Prep Work: This is important! Pallet wood can be rough.
- Clean the pallet well (scrub with soap and water, let dry).
- Sand all surfaces really well to avoid splinters. Start with medium grit, finish with fine grit.
- Optional: Paint or apply an exterior stain/sealant to protect the wood and give it the color you want.
- Installation:
- Stand the prepared pallet(s) vertically against your railing.
- Secure them very firmly. Use multiple heavy-duty zip ties wrapped around the pallet slats and railing posts/bars. Or, if allowed and feasible, use screws or L-brackets to attach the pallet to railing posts. Make sure it’s stable!
- Bonus: The slats are perfect for attaching small planter boxes!
- Pros: Extremely budget-friendly (often free!), creates a unique rustic look, very sturdy once secured.
- Cons: Can be heavy and bulky, requires significant prep work (cleaning, sanding), finding safe (HT) pallets takes effort.
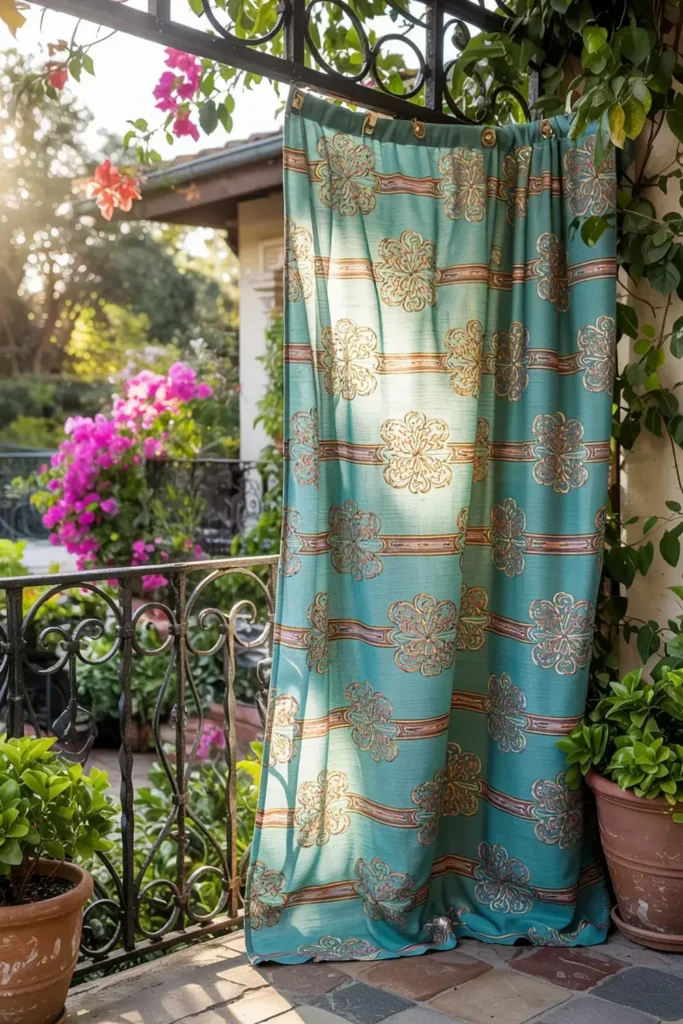
6. Hang Outdoor Curtains or Panels
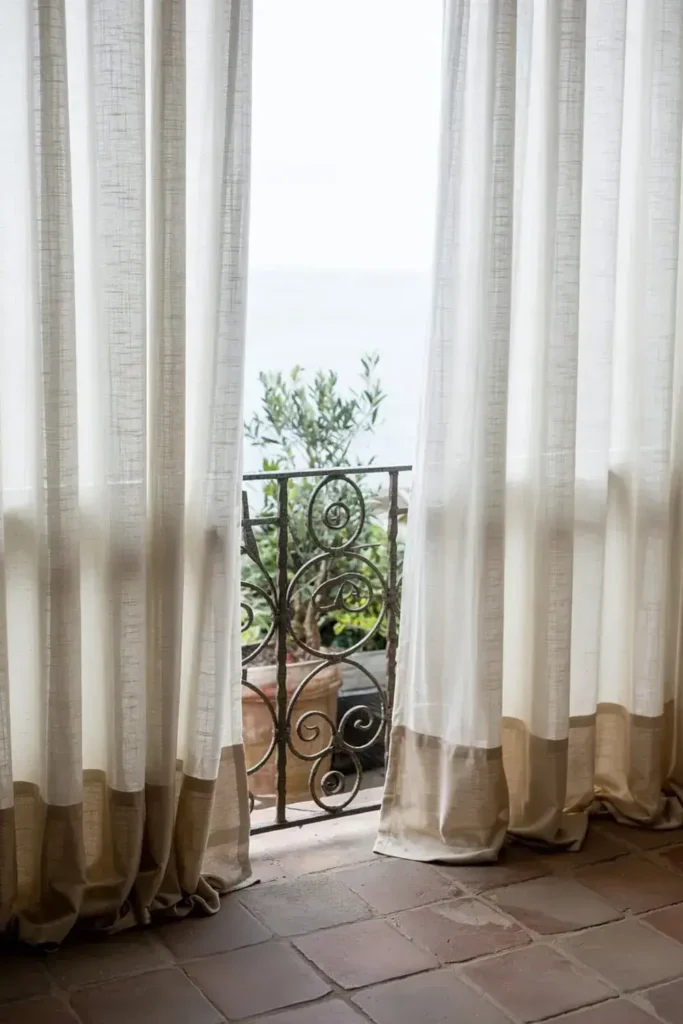
For a softer, adjustable approach, outdoor curtains are lovely.
- What you’ll need: Weather-resistant outdoor curtain panels (look for mildew and UV resistance), a way to hang them (options below).
- Hanging Methods:
- Tension Rod: If your balcony has walls or posts on opposite sides, a heavy-duty outdoor tension rod is a fantastic, drill-free option. Just wedge it tightly between the surfaces.
- Outdoor Curtain Rod: If drilling is allowed, you can mount a sturdy outdoor curtain rod to balcony walls, ceiling overhang, or sturdy posts.
- Wire Cable: String a coated wire cable tightly between two points and use curtain rings with clips.
- Hanging the Curtains: Use curtains with grommets, tabs, or pair them with outdoor-safe curtain rings/hooks.
- Adjustability: The beauty here is you can slide them open or closed as needed! Use fabric tie-backs or curtain weights at the bottom hem to help manage them in the breeze.
- Pros: Creates a soft, elegant look, privacy is adjustable, easy to change the fabric/color seasonally, many renter-friendly hanging options.
- Cons: Requires suitable mounting points (walls, posts, ceiling), curtains can blow around in the wind (weights help but aren’t foolproof), fabric needs occasional cleaning.
7. Use Faux Greenery for Effortless Privacy
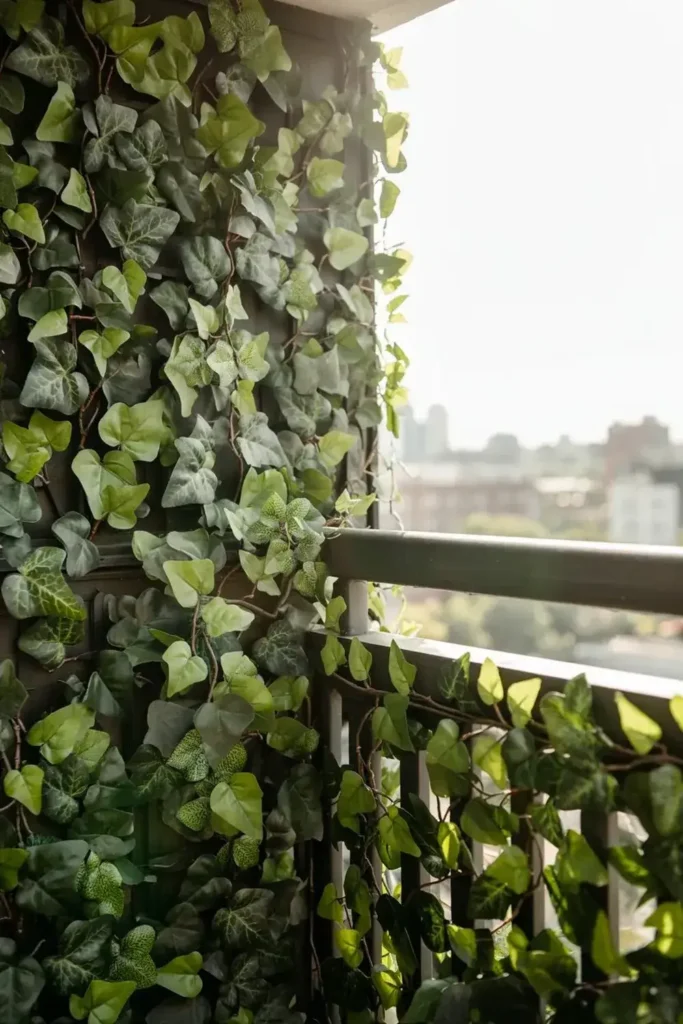
Want the green look without any upkeep? Faux is the way to go.
- What you’ll need: Artificial hedge panels (often come as squares you snap together) or rolls of faux ivy/leaves, UV-resistant zip ties, possibly a staple gun if attaching to a wood backing.
- Finding Good Quality: Look for options specifically labeled as UV-resistant or outdoor-grade. This helps prevent fading and brittleness from the sun. Denser panels generally look more realistic and provide better coverage.
- Installation:
- Measure the area and calculate how many panels or how much roll length you need.
- Attach the panels or roll directly to your balcony railing using plenty of zip ties. Weave them through the mesh backing of the panels/roll and around the railing bars and posts.
- If you have existing lattice or a wire mesh screen, you can easily layer the faux greenery over it for an instant upgrade.
- Most panels and rolls can be cut with sturdy scissors or wire cutters if you need to fit smaller sections.
- Pros: Absolutely zero maintenance required, provides instant and dense privacy, looks green year-round, easy installation.
- Cons: Higher quality panels can be pricier, may look obviously artificial up close depending on the product, plastic can degrade after many years of harsh sun exposure.
Tips for Installing Your DIY Screen Securely
Whatever diy balcony privacy screen you choose, making sure it stays put is crucial!
- Use the Right Fasteners: Always choose weather-resistant options. Think UV-resistant zip ties (black often holds up best in sun), galvanized or stainless steel screws and wire, or outdoor-specific mounting hardware.
- Multiple Attachment Points: Don’t just secure the top! Attach your screen along the top railing, bottom railing, and any vertical posts. The more points of contact, the less likely it is to flap, sag, or detach in wind.
- Check Drainage: Make sure your screen doesn’t block any drainage holes or scuppers on your balcony floor. Water needs a way to escape!
- Assess Railing Stability: Before attaching anything heavy (like pallets or multiple large lattice panels), give your railing a good check. Ensure it’s sturdy and can handle the extra weight and potential wind load.
- Renter-Friendly Focus: If you’re renting, stick to methods that don’t cause damage. Heavy-duty zip ties are often your best friend. Tension rods for curtains are great. Freestanding designs (like a lattice panel in a simple base) also work well. Avoid drilling unless you have explicit permission.
Decorating Around Your New Privacy Screen
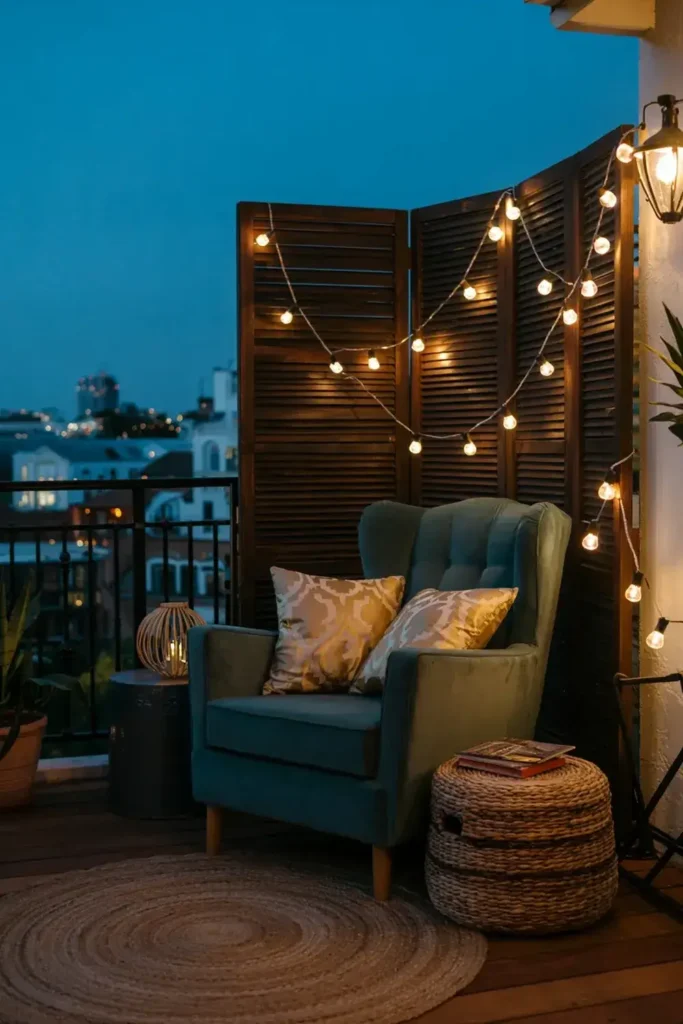
Your new screen isn’t just functional; it’s a backdrop!
- Add Sparkle: Drape outdoor string lights along the top of your screen or the railing itself. Instant ambiance!
- Cozy Seating: Place a comfy chair, some colorful floor cushions, or a small bistro set in front of the screen to create a dedicated relaxation zone.
- Layer with Plants: Even if your screen isn’t made of plants, adding a few potted plants in front of it adds depth and softens the look.
- Define the Floor: An outdoor rug visually anchors the space and adds color and texture.
- Coordinate: Try to match or complement the materials and colors of your screen with your existing balcony furniture and decor for a cohesive feel.
Keeping Your DIY Screen Looking Great
A little upkeep ensures your hard work lasts.
- Check Fasteners: Periodically (especially after strong winds or storms), check that all your zip ties, screws, or wires are still tight and secure. Replace any that look worn or broken.
- Fabric Care: Spot clean fabric screens as needed or hose them down gently. Follow any manufacturer instructions. Let them air dry fully.
- Wood/Bamboo/Reed Care: Give these natural materials an occasional wipe-down with a damp cloth to remove dust, pollen, or cobwebs. Reapply sealant to wood every couple of years as needed.
- Plant Care: Water real plants regularly, check for pests, and prune as needed. Wipe down dusty leaves on faux plants occasionally.
- General Cleaning: Keep the area around the base of the screen clear of debris.
Creating a private oasis on your balcony is doable with a little creativity and effort.
These diy balcony privacy screen ideas offer something for every style and skill level.
Don’t be afraid to mix and match materials or add your personal touches! The goal is to make your little outdoor space feel comfortable, cozy, and perfectly you.
Which of these DIY ideas feels like the best fit for your balcony? I’d love to hear your plans or experiences in the comments below!
Frequently Asked Questions
Focus on non-permanent solutions! Use heavy-duty UV-resistant zip ties to attach bamboo/reed fencing, fabric screens, or faux greenery panels to railings. Outdoor tension rods work great for curtains between walls/posts. Freestanding planters with tall plants or lattice panels in weighted bases are also excellent drill-free options.
Upcycled pallets (if you can source them for free and handle the prep work) are often the cheapest material. Reed fencing rolls tend to be very budget-friendly too. A simple fabric screen using affordable outdoor material and zip ties is another low-cost route.
Aim for a height that effectively blocks the view you want to obscure, usually between 4 to 6 feet tall. Consider your seating height and the sightlines from neighboring areas. Check local building codes or HOA rules, as some may have height restrictions for balcony additions.
It’s generally not recommended. Indoor fabrics lack resistance to UV rays, moisture, and mildew. They will likely fade quickly, degrade, and grow mold when exposed to outdoor elements. Always choose durable, weather-resistant outdoor fabrics like acrylic canvas, Sunbrella, or outdoor polyester for longevity.